




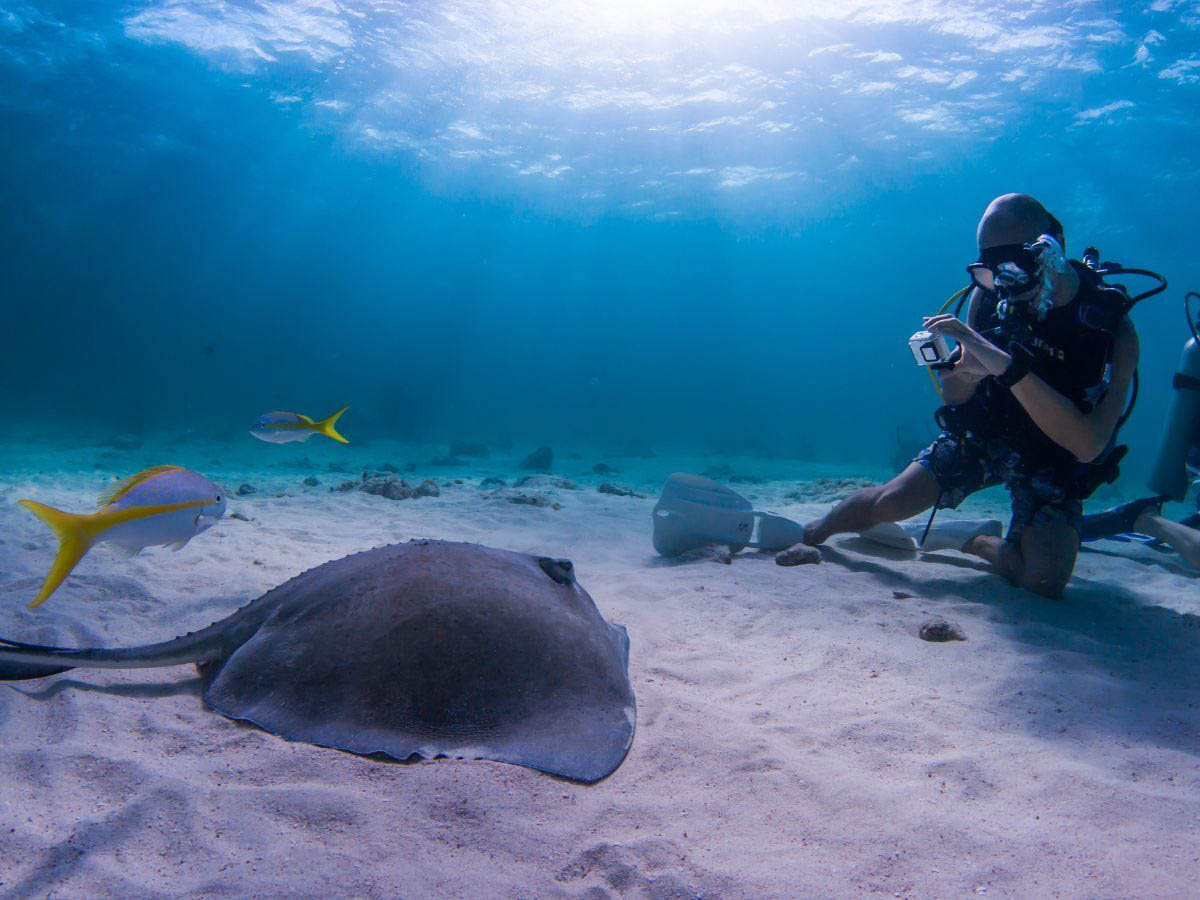

You surface after a promising dive, review your images, and spot an odd flare or recurring mark. Camera settings and water conditions cause plenty of underwater photo problems, so one disappointing frame does not prove the port is damaged. However, these five signs can help you tell whether camera port damage is affecting your photos. Check for a repeatable pattern before changing your setup or replacing expensive equipment.
1. New Flare Appears in Strong Light
Minor marks may stay hidden in soft ambient light but appear when the sun or a strobe strikes the port at an angle. Because scratches and surface roughness can scatter light, a damaged port may create a new streak or patch of glare only under certain conditions.
Compare several images before blaming the port. Reflections from the water can also produce unusual highlights, so a problem that returns under similar lighting is more meaningful than a single flawed shot.
2. The Same Mark Returns in Multiple Photos
Backscatter usually shifts from one image to the next because particles move through the water. A similar mark that keeps appearing in the same part of the frame may come from something fixed near the camera.
Compare photos taken at different angles and distances, ideally across more than one dive. A repeated mark does not confirm damage, but it gives you a good reason to inspect the port before changing your camera settings.
3. The Problem Remains After Cleaning
Salt residue and dried water spots can look like permanent damage, especially after a long dive day. Clean the port according to the housing manufacturer’s instructions, then inspect every surface you can safely reach.
Avoid abrasive cloths or household cleaners that could leave new marks. When the same problem remains after a proper cleaning, stop wiping the port and move on to a dry inspection.
4. Surface Damage Appears Under Angled Light
Dry the port completely and examine it beneath a bright light. Rotate it slowly rather than looking straight through the surface, since a scratch or chip may be easier to see from the side.
Compare the position of any damage with the recurring artifact in your photos. A minor mark does not automatically mean the port needs replacing. More serious damage, however, deserves guidance from the housing manufacturer before the equipment goes back into the water.
5. A Controlled Test Reproduces the Problem
Before your next dive, photograph a plain, evenly lit subject with the same housing setup. Repeat the test with the light coming from a different direction, while keeping the camera position and settings as consistent as possible.
If the same artifact returns under similar conditions, the port becomes a more likely cause. A topside test also lets you investigate the issue without sacrificing another dive or changing too many variables at once.
Confirm the Cause Before Replacing the Port
Not every visible scratch affects the finished image. Many underwater photography problems still come down to technique or difficult conditions.
Clean the housing first, then inspect the port and repeat the test. When port damage appears to be affecting your photos, contact the manufacturer before attempting a repair or buying a replacement. Careful troubleshooting may save you an unnecessary purchase and help you fix a real problem before your next photography dive.
Comments