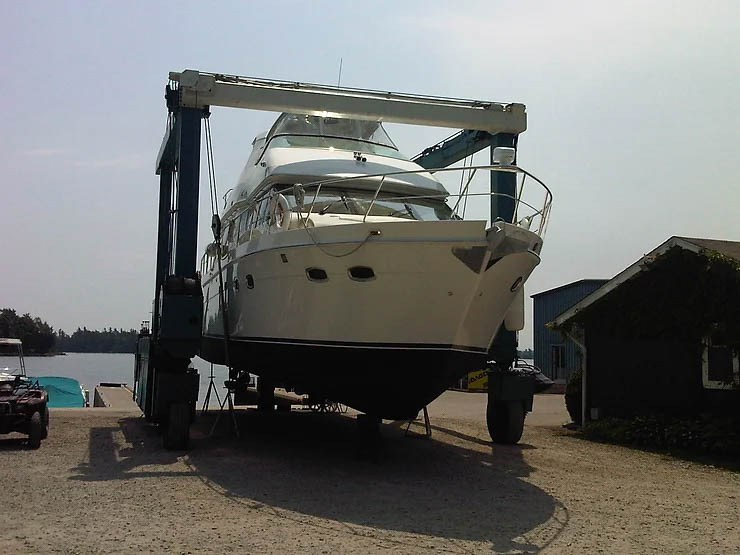
Winterizing is one of those joys (or necessary tasks – depending on your outlook) of boating in Canada, or almost anywhere in North America unless you boat in southern Florida or southern California.
“Necessary” in the sense of protecting onboard systems involving fresh water to prevent freezing over the winter layup period and causing expensive damage come spring. Potentially “joyful” in the sense that it provides an opportunity to clean, refresh, and protect your boat, the pastime that provides you and your family so much enjoyment.
The following is not intended to be a step-by-step series of instructions on how to complete each task as that would take pages. Rather, it is an overview of “to-do” items you should consider depending on your available time and talents. Those freshwater onboard systems must be winterized carefully and completely, whereas other items are optional but desirable to enhance the life, appearance, and enjoyment of your boat.
For the essential systems in the first section below, if you are not mechanically inclined or do not possess the necessary tools, it is highly recommended you have your favourite qualified marine dealer complete those tasks for you. Also, if these systems, especially the engine and drive train are still under manufacturer’s warranty, it is highly recommended that a qualified dealer perform these tasks and take responsibility for performing them “by the book.”
Essential Onboard Items Requiring Winterization
1) General Guidelines:
A) For detailed step-by-step winterizing procedures for all of the essential items below, consult the manufacturer’s owner’s manual for each one, or alternatively the manufacturer’s website will provide these step-by-step instructions to properly complete each task.
B) Compressed air is now being used more and more by marine dealers to “blow” the water out of lines, tanks, and pumps. They choose this method to eliminate the use of much of non-toxic antifreeze which has to be environmentally and properly disposed of. There are risks in using compressed air and if you are not careful, you could cause damage with over-pressurization. There is also the possibility of not eliminating all water gathered in nooks and crannies in the system.
C) Use of non-toxic antifreeze remains the winterizing method of choice as, if used properly, will circulate into every place where water has been and thus provide the necessary protection from freezing. Non-toxic antifreeze is propylene glycol and is safe for water systems. It is also relatively safer in case some should accidentally spill into the environment. Never ever use ethylene glycol, which is the antifreeze used in your automobile radiator as it is highly toxic both to you and our environment. Even when using non-toxic antifreeze for winterizing, take precautions to catch any overflow in containers as opposed to letting it spill onto land or into our lakes and rivers. This especially applies come springtime when you are flushing the non-toxic antifreeze out of your various systems. Any “used” antifreeze you are being rid of must be properly disposed of at a toxic waste disposal facility often found at your local municipal landfill facility.
Always choose a non-toxic antifreeze (pink in colour) which has the lowest possible freezing rating, usually prominently displayed on the front of the jug. A minus 50-degrees Celsius rating is common but if you can find some with an even lower rating, please spend the extra few dollars. The reason is that some small bits of water may still be trapped in places, thus diluting the antifreeze and reducing its effectiveness.
D) Almost all the systems listed below will have an inline filter/sea strainer near the source of the incoming water where it feeds the engine or pump as the case may be. This filter should be removed and cleaned or replaced depending whether it is reusable or not.
E) Before you haul your boat from the water for the final time prior to winterizing, add a fuel conditioner to your fuel tank (especially essential for diesel fuel), then then run your engine for at least fifteen minutes to ensure the conditioner is present throughout the fuel-feed system and into the engine. This includes running your generator, too. Then fill your fuel tank to prevent the build-up of condensation in your fuel tank over the winter layup period.
F) If you have a toilet on board, get a pumpout and a rinsing of the holding tank prior to any winterizing.
2) Inboard/Sterndrive Engines:
Remove the old crankcase oil in the fall so that the acidic deposits from combustion don’t sit inside your engine all winter. Warm up your engine to make the oil flow easier, then change the oil and oil filter, and run the engine again for a few minutes to allow the fresh oil to coat the internal surfaces. Change the fuel and water separating filter (if any). Run the engine briefly out of the water to force as much water out as possible. Replace with non-toxic antifreeze. This may involve using “earmuffs” over the water intake on the outdrive. Check the level and quality of antifreeze in the reservoir of the fresh-water cooling system (if any) and top up or replace as needed. Some manufacturers may recommend “fogging” the engine with a special lubricant. Always follow the manufacturer’s recommendations.
On an inboard drive system, check the transmission oil for quality and quantity and top up or replace if needed. For a sterndrive system, ensure the outdrive is vertical. Check for quality and quantity of gear oil in the housing. If any water or metal filings are present, now is the time to have the drive removed and the problem fixed. If no problems are spotted, top up or replace the lower unit gear oil according to manufacturer’s recommendations – sometimes every year; sometimes every two years. Tilt up the drive and inspect the rubber boots encasing cables, water lines, and exhaust. Any unusual wear, tears, or cracks will necessitate the replacing of these boots.
Finally, encase the propeller in a sturdy plastic bag to prevent rain or melt water from entering the propeller housing and freezing, or if necessary remove the propeller and store indoors.
3) Outboard and Jet Drive Engines:
Today’s outboard and jet drive engines are extremely sophisticated and it is important you follow manufacturer’s recommendations. Flour stroke engines will require engine oil and oil filter changes, as well as fuel filter and water-separating filter changes. Modern two-stroke engines are much more sophisticated than those of your father’s, and therefore it is most important to follow the manufacturer’s recommendations. The oil in the gear cases in the lower housing needs to be checked, as in the sterndrive as indicated in the above section. Engine “fogging” is generally recommended for older two-stroke outboards. Most outboards automatically drain cooling water from the engine block when in a vertical position. As with a sterndrive, bag or remove the propeller as indicated in the above section.
4) Toilets, Sinks, Showers, Transom Showers, Freshwater Washdowns, and Hot Water Tanks:
For a recirculating “chemical” toilet, add non-toxic antifreeze to the attached tank and operate the hand pump mechanism until some antifreeze comes through into the toilet bowl.
For manual, electric, and vacuum-style toilets with separate holding tanks, first drain the onboard fresh water tank. Then flush the toilet a few times to remove any remaining water in the lines. Remove the water supply hose at its source, insert into a jug of non-toxic antifreeze. Flush the toilet until only the pink antifreeze comes through. Leave some antifreeze in the bowl all winter.
For sinks and showers, first turn off (and tape off) the hot water heater electrical breaker, and drain the hot water tank using the drain spigot at the bottom of the tank. Then turn on the fresh water pump and open all faucets, cold and hot until only air comes out. Remove the water supply hoses, hot and cold at their source, and insert into a jug of non-toxic antifreeze. Open all faucets starting with the ones furthest from the source until only the pink antifreeze comes out each one. Don’t forget your transom shower, cockpit sink, and freshwater washdown as well as your ice maker.
Don’t forget your (usually raw water) anchor washdown and raw water cockpit washdowns, if any. These will be separate from your fresh water systems. Also remember your dockside pressure water inlet. Finally, run your shower sump pump to get rid of as much water as possible and then add antifreeze and pump again until the pink comes out. Catch all antifreeze being expelled by sink drains or the shower sump drain and any other drains on the outside of your boat using jugs or basins.
Air Conditioner systems must also be winterized using antifreeze as they utilize raw water pumped in and out. These are tricky, and it is important to follow the manufacturer’s guidelines for winterizing.
Finally, scrub your bilge with a biodegradable cleaner to remove any oil film and residue. Rinse with water and pump your bilge (while catching all effluent on the outside of the boat), then put antifreeze in your bilge and bilge it again. Then remove your hull drain plug and put it in a safe place for the winter where you will not forget to replace it prior to launching.
5) Non-Essential but Desirable Winterizing Activities
When the boat comes out of the water for the final time and while it is still wet, clean the hull bottom with a scrub brush and biodegradable cleaners if necessary. Later you can decide on full topsides and hullsides washing and waxing. Remove all contents from the anchor and transom lockers, clean and dry them thoroughly (as well as lines and fenders), then dry these lockers prior to reloading the contents.
Unless your boat is destined for indoor heated storage, condensation will form on any enclosed surfaces which include the interior and the cockpit since it will be enclosed with a tarp or shrink wrap. Purchase some moisture-absorbing products readily available at any marine dealer and spread these containers liberally throughout the enclosed area per the instructions on the product. This is all in aid of the prevention of mold and mildew.
To further aid in this regard, remove as many cushions, pillows, bedding, curtains, PFD’s etc. as possible and store them aired-out indoors. Remove as much canvas as practical and first clean and then store similarly. Open as many hatches and cupboards as possible and leave them propped open. Do the same with any microwave, fridge, or freezer doors. Leave all remaining cushions, mattresses, etc. propped up to let air circulate around them.
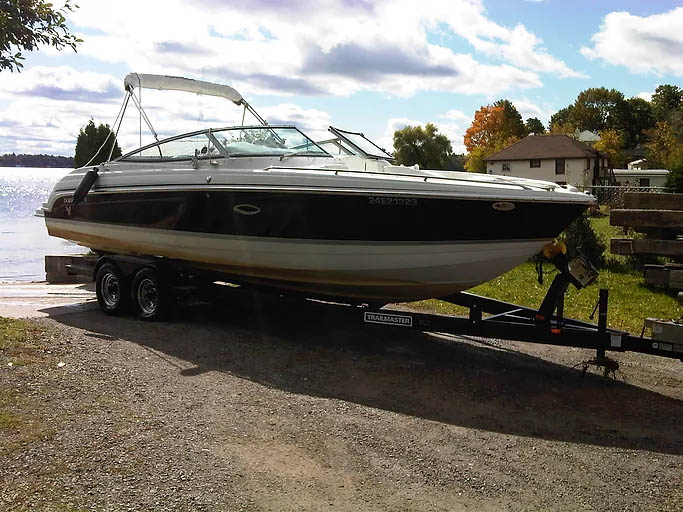
Ensure all batteries are fully charged and preferably remove them from the boat for the winter. Clean the terminals. Finally, ensure the battery switches and shore power are all turned off. You are now ready to tarp or shrink wrap ensuring that there is venting to allow air circulation. If you are storing your boat on a trailer, then best to rest the trailer frame on blocks to take the weight off the suspension and tires. It is also a great theft deterrent.


