


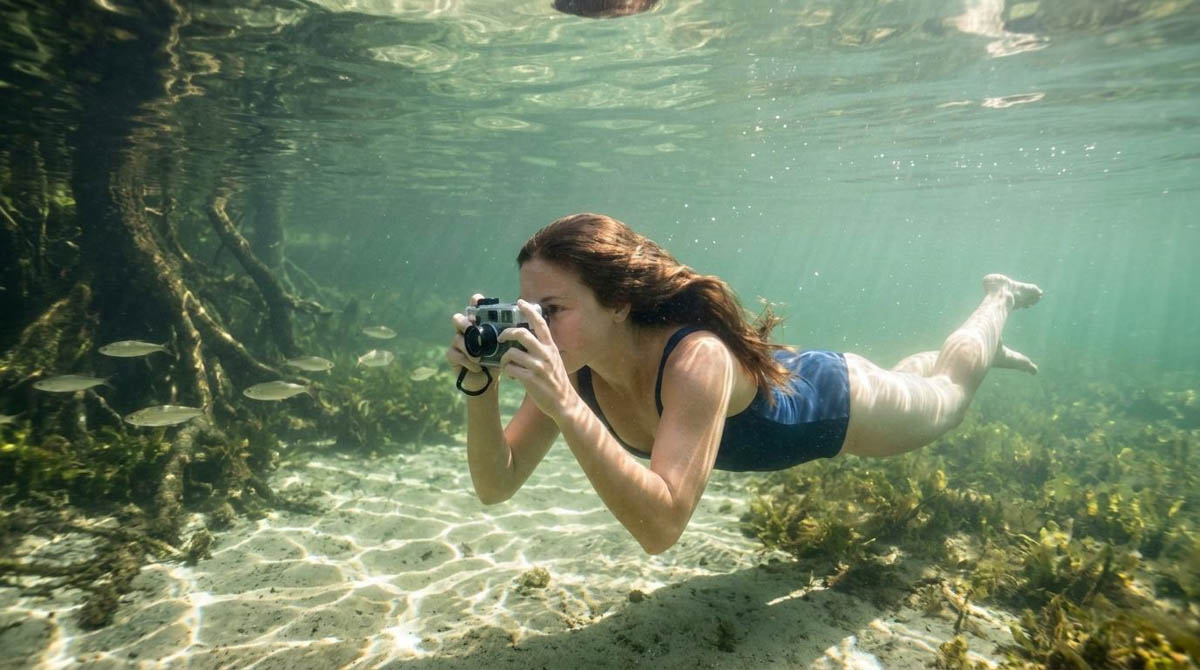

You surface, rinse your gear, and scroll through the camera screen with a grin. Then you get home, and the photos sit on a memory card for months. It happens to plenty of divers. The shots that made your heart jump underwater deserve better than a forgotten folder.
This guide walks through the simple path from camera to wall: backing up and sorting files, editing with a light touch, matching print size and crop, choosing a frame, and hanging the result where you’ll actually enjoy it. No special design knowledge needed.
Back Up and Sort Your Dive Photos
Start with the boring but vital step: copy everything off the memory card before you do anything else. Keep one copy of the untouched originals and a second copy somewhere separate, such as an external drive or cloud storage. Cards fail, phones get dropped, and a trip’s worth of photos is hard to repeat.
Once the files are safe, sort them. Go through the batch quickly and mark the ones that stand out, then set the rest aside rather than deleting them. Look for a clear subject, sharp focus and a pleasing moment. Rename the keepers or drop them into a folder labeled with the dive site and date, so you can find them again next year.
If you don’t have a computer that can hold a whole dive trip, you’ll want one with enough storage for originals and backups, and one that can run the photo software you plan to use. You could include PCLiquidations’ refurbished Dell laptops in that comparison. Don’t assume every refurbished laptop can handle demanding photo editing, though. Check each individual listing’s processor, RAM, storage and software requirements against what you intend to do.
Storage deserves the closest look. Photo files add up fast, and a drive that seems roomy on day one can fill after a couple of trips. If you shoot a lot, favor more space, because it lets you keep originals and backups together without constant cleanup.
Make Restrained Edits That Keep the Dive Feeling Real
Water absorbs light and color, so underwater photos often look muted or tinted blue-green. A little editing can bring back some of what your eyes saw. The key word is little. A quick adjustment to brightness, contrast and color balance usually does more good than a heavy hand.
Here is a handy test. Step away from the screen for a minute, then look again. If the colors look like a postcard from another planet, pull the edits back until the scene feels like the dive you remember.
Cropping is part of editing too. If a diver or fish sits awkwardly at the edge, a small crop can tighten the story. Just keep an eye on how much of the picture you remove, because the next section depends on how much image remains.
| Pro Tip: Work on a copy, never your original. Then make a few gentle moves: lift the exposure if the image looks dim, nudge the colors until the water and the animals look natural, and add a touch of contrast. Most underwater shots can use a bit more contrast, but don’t overdo it. |
Match Print Size and Crop to Your Photo
Prints have fixed shapes, and your photo might not match. Many cameras produce wider, boxier pictures than common print sizes, so fitting a photo to a print often means trimming a little from the sides or top. Decide on the print size first, then crop your image to that shape rather than letting a shop guess.
A 12 x 18 print is a roomy, wide format that suits sweeping reef scenes and a turtle gliding past blue water. Smaller prints can work for close-ups of a single creature. Think about where the picture will hang and pick a size that fits that space comfortably.
Also check that the photo has enough detail for the size you want. A sharp, well-lit original holds up as a large print far better than a soft one, and a heavy crop leaves fewer pixels to work with. If your favorite shot is blurry at full zoom on screen, consider a smaller print instead. For future dives, set your camera to its highest resolution so you retain the detail available in the original.
Before you print, check these details on your chosen image:
- Original file resolution and sharpness
- Print size you plan to order
- Whether the crop keeps your subject comfortably inside the frame
- Whether the frame will use a mat.
Work through that short check before you order, and you’ll avoid the classic surprise of a fish’s tail sliced off by the edge of the paper.
Choose a Frame That Suits the Print
Once you have confirmed your print’s dimensions and decided whether the frame will use a mat, you can narrow the choice to frames made for that exact size. A mat is the paper border that sits between the picture and the frame. It gives a photo breathing room and hides a little of the print’s edge, so the visible image is slightly smaller than the paper.
That detail matters. If you want the whole photo visible, choose an unmatted frame that matches the print size. If you like the look of a border, choose a matted one, but check the opening so an important part of the picture isn’t covered.
For a 12 x 18 print, compare Americanflat’s 12 x 18 frames and check whether the style you like is matted or unmatted. Colors and materials vary, so pick a finish that suits your room. A simple black or wood frame often lets blue ocean tones stand out.
Before you buy, hold the print against the frame description once more. A mat opening that is a touch too small can swallow the edges you worked to crop, and it’s easier to catch that on a screen than on your wall.
When the frame arrives, slide the print in gently and hold it by the edges so you don’t leave fingerprints on the surface.
Hang Your Print Where You Will Enjoy It
The best spot is one you pass often: a hallway, a living room wall or above a desk. Keep it out of harsh direct sun, since strong light can fade a print over time. Hang it so the center sits roughly at eye level, and leave space around it so the photo has room to be noticed.
If you’re not ready to drill holes, many frames can stand on a shelf or desk. A leaning print is easy to swap whenever a new favorite comes along. You can also add a second or third print later and build a small wall of dive memories.
To keep a print looking good, dust the frame lightly and avoid damp spots like bathrooms. A little care means the photo stays bright for years.
Pick the Print You Will Want to Look at Every Day
You don’t need to do everything at once. Back up your files this week, choose one favorite, edit it gently, and pick a size that suits the wall you have in mind. Then frame it and hang it where you’ll see it often.
One well-chosen print will tell the story of that dive more honestly than a thousand files in a folder. Start with the photo that still makes you smile, and let it lead the way.